Kitchen Renovation (Phase 2)
Back in late December, I introduced you to our kitchen, which now can be referred to as the empty space, between the bedroom and dining room, with four walls and no identifiable kitchen-like features.
When first we spoke, the kitchen had undergone some pretty notable changes. We removed the existing cabinetry and dry wall ceiling, restructured the courtyard facing window and door openings, and added a support beam spanning the kitchen and dining room wall.
But since then, she's been nothing but a dirty tease, that trampy kitchen!
OK, maybe she's not a tramp, and I'll admit that I set myself up for this torture.
During the holiday shopping hub bub, John and I took advantage of some pretty awesome Black Friday deals. While you were out scouting the shelves for hot deals on Anna and Elsa paraphernalia, we were out signing away our future, first born in exchange for kitchen cabinets, refrigerator, stove and dishwasher.
Stupid, hyper excited me had them all delivered just after the New Year. And there they sit, still in boxes, under drop clothes, singing to me like Sirens. "Come on Courtney, we're so pretty, clean, shiny and new... Go bug at John to hurry up and install us!"
Truth be told, LOTS of work has been done to the kitchen since that last post, but the progress feels slow. Probably because I'd prefer it all have been completed last week.
Again, I realize I've set myself up for this torture, but I'm excited for our new kitchen and can't wait for John to start cooking again. Yes, that's right, John is also an amazing cook. I'm no dummy, I picked a home run husband.
So, aside from my constant badgering, here's the amazing progress that has been accomplished in the kitchen over the last 2 months.


Now, if I could just figure out how to successfully strip the paint from matching 100 year old doors I salvaged from my parent's barn... I've spend several, endless weekends trying a number of stripping agents.
I'll share that saga in a separate post, along with the red brick fireplace saga, but figured I'd mention it because I know what you're think. Courtney writes and points a lot of fingers, but does she do anything besides drink wine at the end of the work day.... The answer is yes, I do drink wine at the end of the work day.


And that's where we are. But standby, because John recently revealed a list of about 40 more steps in the kitchen renovation process, so there is much, much more to come! And lots more name calling from me ;)
When first we spoke, the kitchen had undergone some pretty notable changes. We removed the existing cabinetry and dry wall ceiling, restructured the courtyard facing window and door openings, and added a support beam spanning the kitchen and dining room wall.
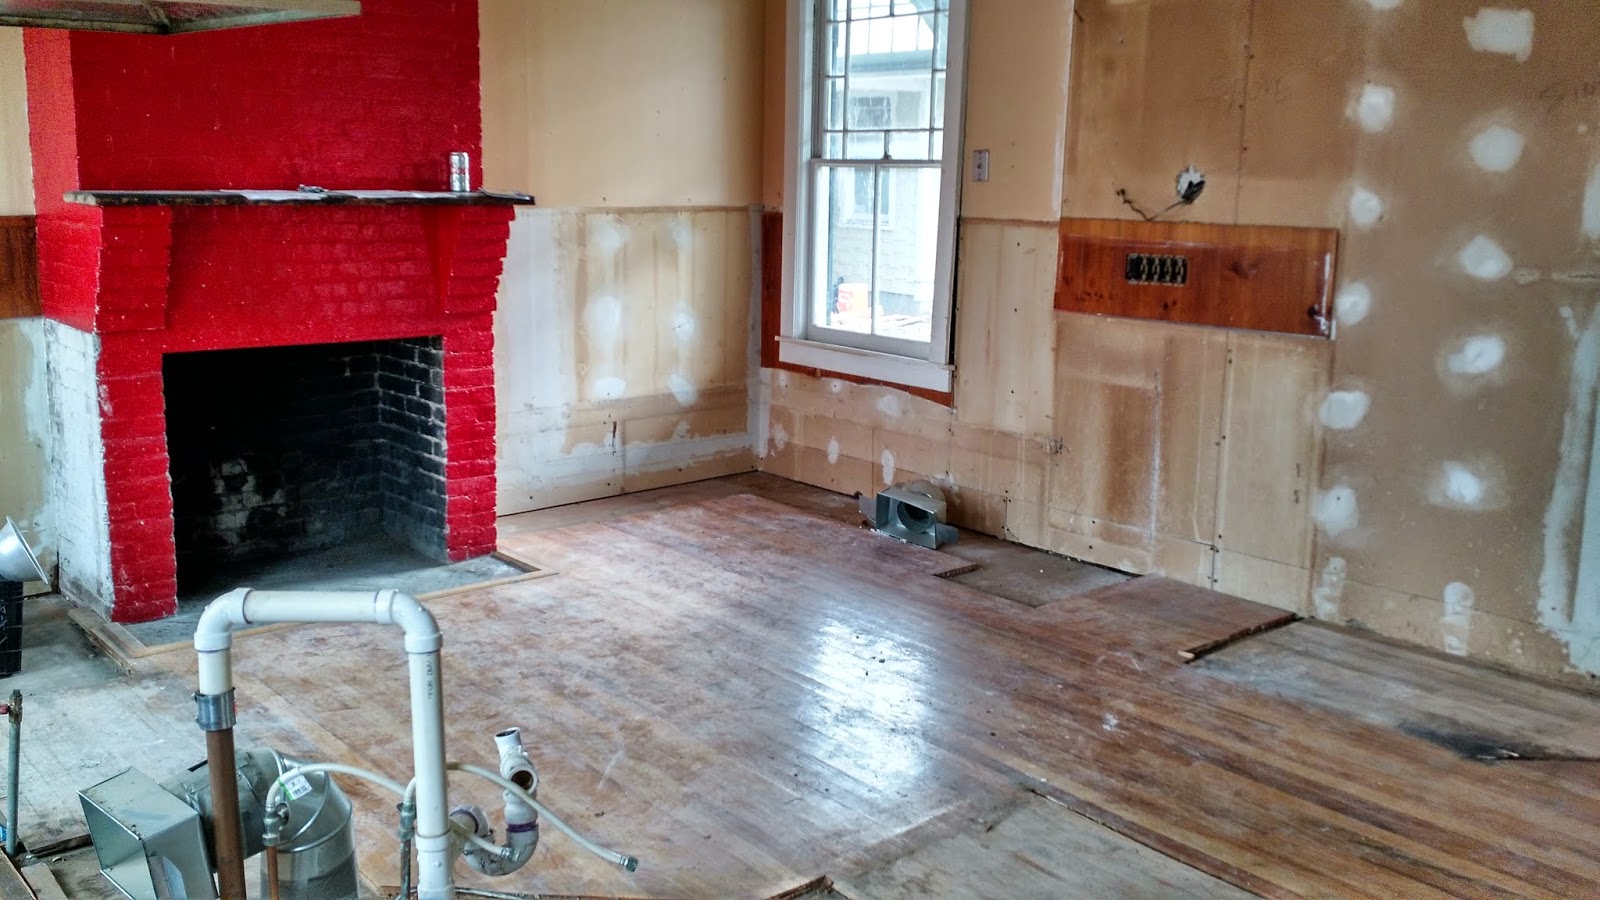 |
| You remember the Before, right.... |
But since then, she's been nothing but a dirty tease, that trampy kitchen!
OK, maybe she's not a tramp, and I'll admit that I set myself up for this torture.
During the holiday shopping hub bub, John and I took advantage of some pretty awesome Black Friday deals. While you were out scouting the shelves for hot deals on Anna and Elsa paraphernalia, we were out signing away our future, first born in exchange for kitchen cabinets, refrigerator, stove and dishwasher.
Stupid, hyper excited me had them all delivered just after the New Year. And there they sit, still in boxes, under drop clothes, singing to me like Sirens. "Come on Courtney, we're so pretty, clean, shiny and new... Go bug at John to hurry up and install us!"
 |
Truth be told, LOTS of work has been done to the kitchen since that last post, but the progress feels slow. Probably because I'd prefer it all have been completed last week.
Again, I realize I've set myself up for this torture, but I'm excited for our new kitchen and can't wait for John to start cooking again. Yes, that's right, John is also an amazing cook. I'm no dummy, I picked a home run husband.
So, aside from my constant badgering, here's the amazing progress that has been accomplished in the kitchen over the last 2 months.
- A new, 15 panel exterior door was installed, re-purposing the old door hinges from the original kitchen door.
 |
| That's a serious action shot! |
 |
| Fitting old hinge for new door |
 |
| Reused and installed the old hinges. |
 |
| New door is in! |
- John installed the pocket door hardware between the kitchen and the dining room.
 |
| Pocket door hardware installed. |
Now, if I could just figure out how to successfully strip the paint from matching 100 year old doors I salvaged from my parent's barn... I've spend several, endless weekends trying a number of stripping agents.
I'll share that saga in a separate post, along with the red brick fireplace saga, but figured I'd mention it because I know what you're think. Courtney writes and points a lot of fingers, but does she do anything besides drink wine at the end of the work day.... The answer is yes, I do drink wine at the end of the work day.
- The hardwood in the kitchen was a mess. The former owners installed the "new" hardwood around the existing cabinetry so when the cabinets were removed there was a dozen large gaps and holes. The hardwood was not of any notable quality or an original detail of the house, so sometime in mid January, my Dad and the guys ripped it up. The badly damaged hardwood was secretly covering 4 additional layers of linoleum. What we anticipated being a couple hour project, turned into an all day job for two guys. Typical.
 |
 |
| This was a huge demo job! |
 |
- Then, John started to research which new flooring material we would install in the kitchen. We want to mimic the wide plank floors in the dining room, but, of course, they do not make this particular width as a readily available stock item any longer. So, after much ado, John decided to buy his own white pine boards, which he will cut to width and add the tongue and groove in himself. Of course he did, Lord help me!
 |
| The white pine (and other clutter), in the Great Room, awaiting John's handy work. |
- Then, after 2 more weeks, we passed our framing and rough electrical inspections!
- Now in the clear with the city, we were able to insulate the kitchen walls. This proved to be a tricky job because after years of past renovations, the standard stud width had been whittled down and segmented. Every piece of insulation had to be cut to size. In retrospect, would a spray insulation have been easier or cost prohibitive? Either way, I'm now super handy with a staple gun.
- Then, after another week, we received our passing insulation inspection, so we prepped for the dry wall.
- We were so excited to finish the drywall, John and I met after our regular work day, and put up drywall until 11pm. During this session, John coined the phrase "ladies love drywall" because women, in his opinion, feel better about a room with drywall as opposed to open studs. It's true. I'm so proud. My kitchen went from tramp to classy lady!
 |
 |
| Last piece, and he's still smiling! |
And that's where we are. But standby, because John recently revealed a list of about 40 more steps in the kitchen renovation process, so there is much, much more to come! And lots more name calling from me ;)
Comments